Share
Pin
Tweet
Send
Share
Send
 クレジット:キャリー・ウォーラー
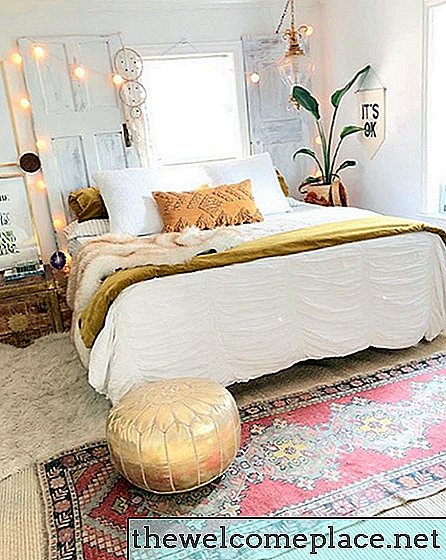
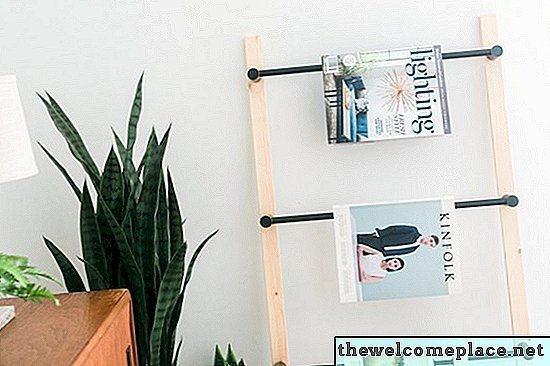
このInstagramにふさわしいはしごの棚は、安価な木製ボードとタオルバーを2枚だけ使用して作られたものだと言ったら信じられますか?さて、私たちはあなたのお気に入りの本や雑誌に表示するのに最適な方法であなたの家を整えるクイック5ステップのチュートリアルで今日それを証明しています! DIYの詳細をすべてスクロールします。
 クレジット:キャリー・ウォーラー
必要なもの
1インチx 2インチx 4フィートの木製ボード(2)
24インチタオルバー(3)
レベル
マーカーまたはペン
巻き尺
パワードリル
ドリルビットとドライバー
手動ドライバー
 クレジット:キャリー・ウォーラー
ステップ1
レベルに対して平らな面に木板を置きます。最初のタオルバーを2つのボードに配置し、ハードウェアの配置を測定してマークします。
 クレジット:キャリー・ウォーラー
ステップ2
レベルとタオルバーを脇に置き、ステップ1で作成したマークを使用してハードウェア用の穴を事前に開けます。
 クレジット:キャリー・ウォーラー
ステップ3
タオルバーに付属のネジを使用してハードウェアを取り付けます。
 クレジット:キャリー・ウォーラー
ステップ4
タオルバーを取り付けてから、他の2本のバーについて手順を繰り返します。
 クレジット:キャリー・ウォーラー
ステップ5
はしごを壁に立てかけるだけで完了です!これを使用して、本、雑誌、さらには毛布などを表示および保存できます。
 クレジット:キャリー・ウォーラー
 クレジット:キャリー・ウォーラー
Share
Pin
Tweet
Send
Share
Send